If you want to know how to backup iPhone then you are at the right place. iPhone backups can be made with iTunes on a PC, or the Finder on a Mac. Check the Below steps on how to back up your iPhone.
After you have completed a backup on your local computer, you may copy it to a hard disc that is connected to another computer.
When was the last time you made a backup of your iPhone? A single accident could cause you to lose a lot of data, so you better hope it wasn’t too long ago.
Experts recommend keeping backups up-to-date on a consistent schedule. Thankfully, there are several options for backing up an iPhone and ensuring the safety of its contents.
Also Read: How to Clear Cache on iPhone? – mobileling
How to Backup iPhone?
Those are the three best ways to save data from an iPhone.
iPhone backup instructions using iCloud
Keeping data in iCloud is a sensible choice. Doing so wirelessly over Wi-Fi is an option, as is setting up automatic backups on your iPhone.
1. Launch the mobile device’s Settings app and tap your profile picture.
2. An iPhone’s Settings app is topped off with an Apple ID banner.
3. The Apple ID settings menu. William Antonelli, insider number two. Choose iCloud from the drop-down option under your Apple ID, and after that, choose iCloud Backup.
4. Take care to only activate the backup options you need before hitting the “back up now” button.
5. In the iCloud settings on the iPhone, backing up to the cloud is highlighted.
6. Select the data you wish to save in advance.
7. Make sure you have turned on iCloud Backup. If your iPhone is plugged into a power source and online via Wi-Fi, but not being actively used, then your data will be backed up automatically. As a result, you should always have a backup of your information when you plug in your phone before bed.
8. Click Back Up Now if you’d prefer to initiate a backup manually instead.
9. Visit the Backup page on your iPhone to create a backup manually or to configure automatic backups.
Also Read: How to Screen Record on iPhone? – mobileling
Managing Full iCloud Storage
A sad five gigabytes of free space is provided when you create an Apple ID. A single iPhone with a reasonable quantity of data, let alone numerous devices stored up to iCloud, may soon use all of that capacity.
Increases in iCloud storage capacity can be made quickly and easily, which is good news. As a result, you may acquire the following:
Pay only $0.99/month to access 50 GB
Price per month: $2.99 for 200 GB
Prices start at $9.99/month for 2 TB
A quick hint: The final two plans can be shared by the whole family, further reducing the overall price.
How to Make an iPhone Backup on a Mac or PC
If you’d rather not store anything in the cloud, your data can be downloaded to your computer. You’re free to copy and store the unified file however you like.
The PC user will use iTunes for this. If you own a Mac, you will browse through your files using the Finder application. However, the processes are identical in both cases.
Method 1: First, open either iTunes or Finder on your computer, and plug in your iPhone’s charging cable. Trust the computer by entering your passcode on your iPhone if prompted to do so.
Method 2: Select your iPhone in iTunes or Finder. You can recognize it in iTunes by its little iPhone icon in the top left corner, and in Finder, it will be listed under its full name on the left side of the screen.
After you have decided to save a duplicate of your data locally on the computer, go to the Backups menu and choose the option labeled “Back Up Now.”
The iPhone backup screen can be accessed from a Mac (at the top) or a PC (below).
The options on a PC and a Mac have different names, but they both do the same things.
Give your gadgets a quick window of time to save a copy of your information.
Also Read: How to Factory Reset iPhone? – mobileling
Tips on where to find iPhone backups
Most people won’t need any more than what’s been outlined above.
However, you’ll need to take things a step further if you want to store backups of your devices.
On a Mac, open a Finder window and paste the following into the search bar by pressing Command + Shift + G or clicking the Spotlight search button. Library services include application support, mobile sync, and backup.
Follow the prompts to access the location of your most recent backup.
Once again, sync your iPhone with your Mac and access its settings. Choose to handle backups. Backups may be seen in a list by selecting the option to do so from the context menu and then clicking the Show in Finder option.
On a Mac, you can view all of your backups by selecting the menu item that reads “Show in Finder,” which is highlighted in the image.
To do the same thing on a Windows computer, you’ll need to do the same things. Simply type the following into your search engine:
Just substitute your username here (username). After that, you’ll be taken to where your backups are stored.
Instead, open iTunes and head to the Edit menu before selecting Preferences. In the new window, select Devices. Every one of your backups will be displayed for your inspection. Also, you can delete copies of your data from this menu.
Recommendation
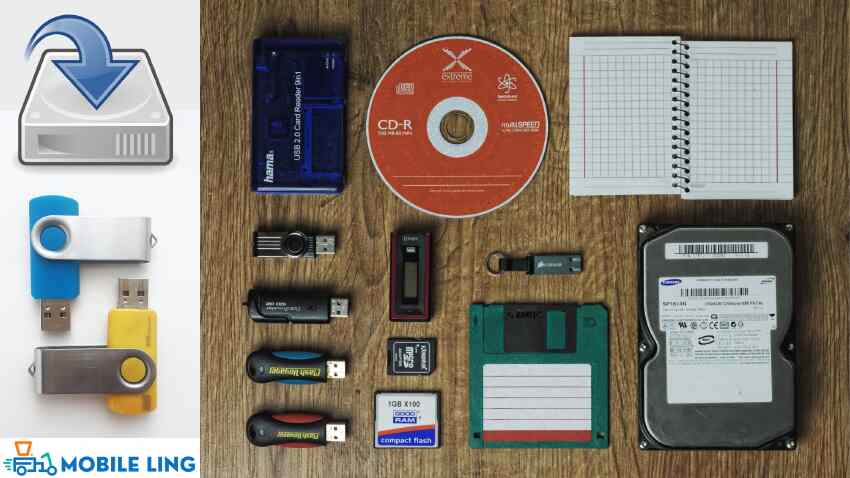
It’s recommended to use an external hard drive to store backups.
Once you’ve located your backups, you can move them to a new location and remove them.
If data integrity is very important to you during the transfer, Apple suggests doing the complete folder simultaneously. After making a duplicate of the file (or zipping it), you should save the archive in a safe location, such as a portable hard drive or a cloud storage service like Google Drive.
Moving data from one location to another The backup folder can be moved in its entirety or compressed into a single file.
You can now delete the duplicate file from your computer if you need to make more room. It’s prudent to have backups, though.
Also Read: How to Reset iPhone? – mobileling


Good Information